Place An Image In Text With Photoshop
> It is easy to do using clipping masks
Step by step demonstration
Step 1 > Open New Image from your computer
Create Duplicate The Background Layer
click to create duplicate layer
Duplicate layer is created
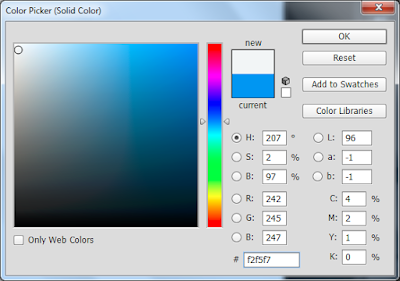
Step 2 > Add A White Solid Color Fill Layer
Step 3 > Select Layer 1
> Drag The Solid Color Fill Layer below Background copy
Step 4> Select The Type Tool
> Choose Your Font
Step 5 > Add Your Text
> Set Your Type Color To White
> Drag The Type Layer Below Layer 1
Step 6 > Select Layer 1 Again
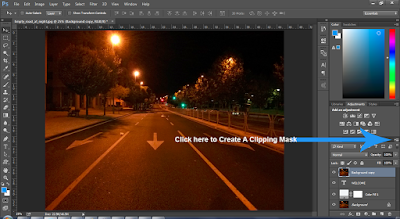
Step 7 > Create A Clipping Mask
1st click on side icon as per showing in image below
2nd you will get new window as given image below select as per displaying in image
Step 8> Select The Type Layer
Resize And Reposition The Text Using Free Transform
Scale the Text using Free Transform
Step 9 > Add A Drop Shadow
1st click on fx.
You will get below window and select Drop shadow
While you click on Drop Shadow, you will get below window
Now see the image
You can hide the other layer as per given below screen
And save/export as png/jpg/gif format


No comments:
Post a Comment